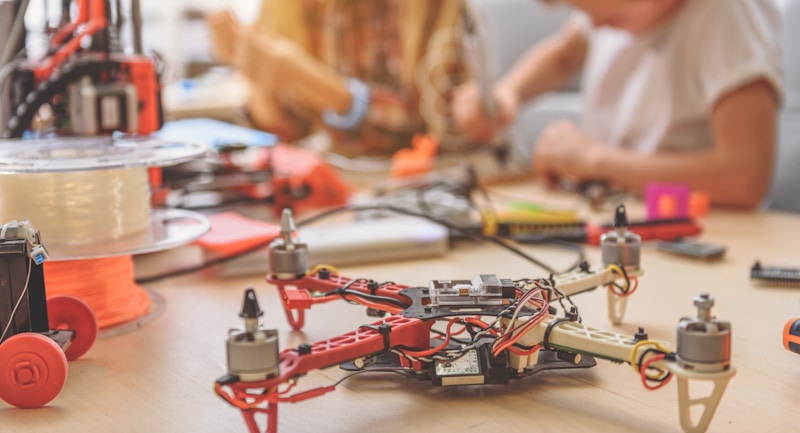
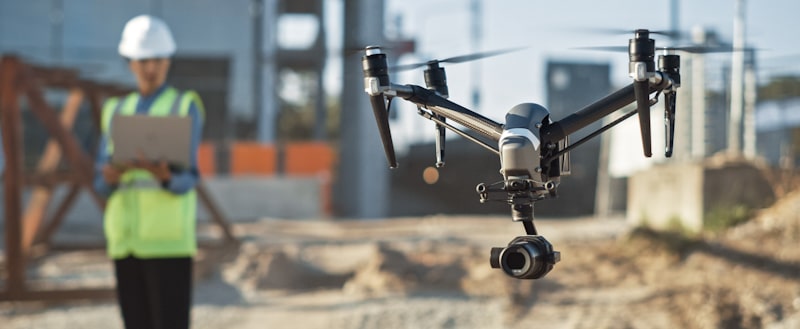
Flying a drone is so much fun, especially when flying with family and friends. However, most drones are very expensive, and you will be looking to spend over a thousand dollars on one drone. The cost of drones has discouraged some people from purchasing one; however, one alternative is to build your drone.
The first step to building your drone is to get the tools you need and the drone parts that can be gotten from a drone kit. Most drone kits come with a step-by-step guide on how to assemble the drone. You will have a drone up and ready to fly as long as you follow those instructions.
Building your drone sounds like an intimidating and difficult task; however, it is not as difficult as it seems. Once you follow a guide, you will find out it is not difficult and will even enjoy the construction.

How To Build Your Own Drone
Drone production is increasing fast in the industry today; as a result, there are several drones on the market. If you are a detail-oriented person, it is possible for you not to find a drone that meets your specification. In cases like this, you can decide to build your drone.
The first step to building your drone is getting the tools you need, as, without them, you cannot get any work done. The basic tools required include a soldering iron and solder, a set of hex keys, wire cutters, electrical tape, screws, thread locker, cable ties, heat shrink, standoffs, double-sided tape, screwdriver, and nut spinner.
After getting the basic tools, you will need to purchase the drone parts. These parts include motors, gimbal, PDB, the drone frame, an RC receiver, flight controller, connectors, a mounting pad, batteries, electronic speed control, and propellers. If you are building a camera drone, you will need a camera and a micro-SD card.
After getting your tools and the parts needed, you can start building your drone. The first step is to construct a frame; the frame is the base, you can either build it yourself or buy it. The number of arms the frame has determines how many motors your drone will need, and the size of the frame determines the distance between the motors.
The next step is to assemble the motors; there are brushed and brushless motors, but a brushless motor is preferable. To assemble the motors, you will have to make holes in the frame for the motors. After making the holes, insert the motors into the frame using a screwdriver and screws.
The electronic speed control is the next thing to add to the construction; this device helps deliver electricity from the drone's battery to its motors. Once the motors have been fixed, you should attach the electronic speed controllers to the bottom of the drone's frame. You will need one ESC for each motor.
Once the ESCs have been fixed, you will need to connect them to the motors. To do this, you will need your soldering iron; each motor possesses three wires that will be soldered to the ESC pads. Solder each connection at a time; after soldering, make sure the joints are not touching or overlapping.
The next thing to do is to fix your propellers; the propellers must match your drone's motors and frame. After fixing your propellers, you should mount the power distribution board or PDB. You will need either rubber or nylon standoffs; the location of your PDB depends on where you want your battery and USB connector.
The next thing is to attach the landing gear; the gear helps absorb the shock that occurs when the drone lands on the ground. Once the shock is absorbed, there is less chance of accidents occurring during landing. Make sure your landing gear is made from a strong and flexible material like plastic so that it does not break.
The flight controller is another important part of a drone. A controller helps keep the drone stable during a flight and is referred to as the hardware hub. It is best to get a ready-made controller rather than make one yourself; once you have found your controller, you should mount it to the drone.
When mounting the controller to your drone, make sure you attach a piece of sponge beneath the controller to help reduce the drone's vibrations. Next, connect the ESCs to the flight controller and the drone to the remote control. Then, connect software called LibrePilot to your drone.
Do not forget to connect the battery to the PDB, as a drone will not operate without a source of people. After these connections have been made, check if everything is working properly through the software. Now, you can take your drone out to fly it; make sure you fly in an uncrowded area.

Build Your Own Drone Kit
Although building a drone is not that difficult, getting high-quality tools and materials might be a hassle. However, with a drone kit, the workload is reduced as it comes with all you require to build your drone. Just as several types of drones are in the market, several types of drone kits are also available.
Some of the drone kits you can get include DJI Flame Wheel Drone Kit, QWinOut Drone Build Kit, Hobbypower F550 Drone Kit, Rotor Cinewhoop Drone Kit, Skyliner DIY Drone Kit, VannyStyle DIY Build Drone Kit, Circuit Scribe Drone Kit, Robolink Drone Kit, and DJI Mavic Drone Kit.
Getting a good drone kit is very important as that determines how good your drone will turn out once you have finished building it. The drone kits mentioned above are high-quality, have long battery life, possess some cool features, and are easy to assemble.
How To Build Your Own Drone With Camera
One of the main features that add to the appeal of a drone is its camera; flying a drone with a camera is more fun than flying one without. You can see what the drone sees and take images and videos with a camera. Hence, it will be a shame if you build your drone and do not have a camera.
Building a drone with a camera is not difficult; all you need is VTX, a gimbal, a camera, a video antenna, and goggles. When shopping for a camera for your drone, check for its sensor type, lens, resolution, and other features. The camera must be able to capture clear images and aerial footage.
You can purchase one that can see in the dark and monitor the drone's battery level. After building your drone, you should connect the camera and VTX to the PDB. The camera and VTX each have a positive and negative wire; these wires should be connected to the matching pads on the PDB.
Then connect your video antenna to the camera; the video antenna ensures your videos and images are clear and stable. You should also fix your gimbal to the camera; the gimbal serves as a support system for the camera. It keeps the camera stable and reduces the vibration regardless of the movement.
After installing the camera and other support systems to the drone, you should check out the camera and test it to ensure it is properly working. Once the camera is properly working, you should connect the goggles to the camera to test it. After doing this, your drone is ready for operation.
Final Thoughts
Building your drone does not only help save money but also helps you develop construction skills. Although you may have a tough time if it is your first time building a drone; however, when you have detailed instructions to follow, it will be less difficult.
Additional reading:
Shawn Manaher loves to play with new toys and dive into new hobbies. As a serial entrepreneur, work definitely comes first but there is always room for hobbies.

![How To Build Your Own Drone [Complete DIY Guide With a Kit]](https://hobbynation.net/wp-content/uploads/2022/03/build-your-own-drone.jpg)